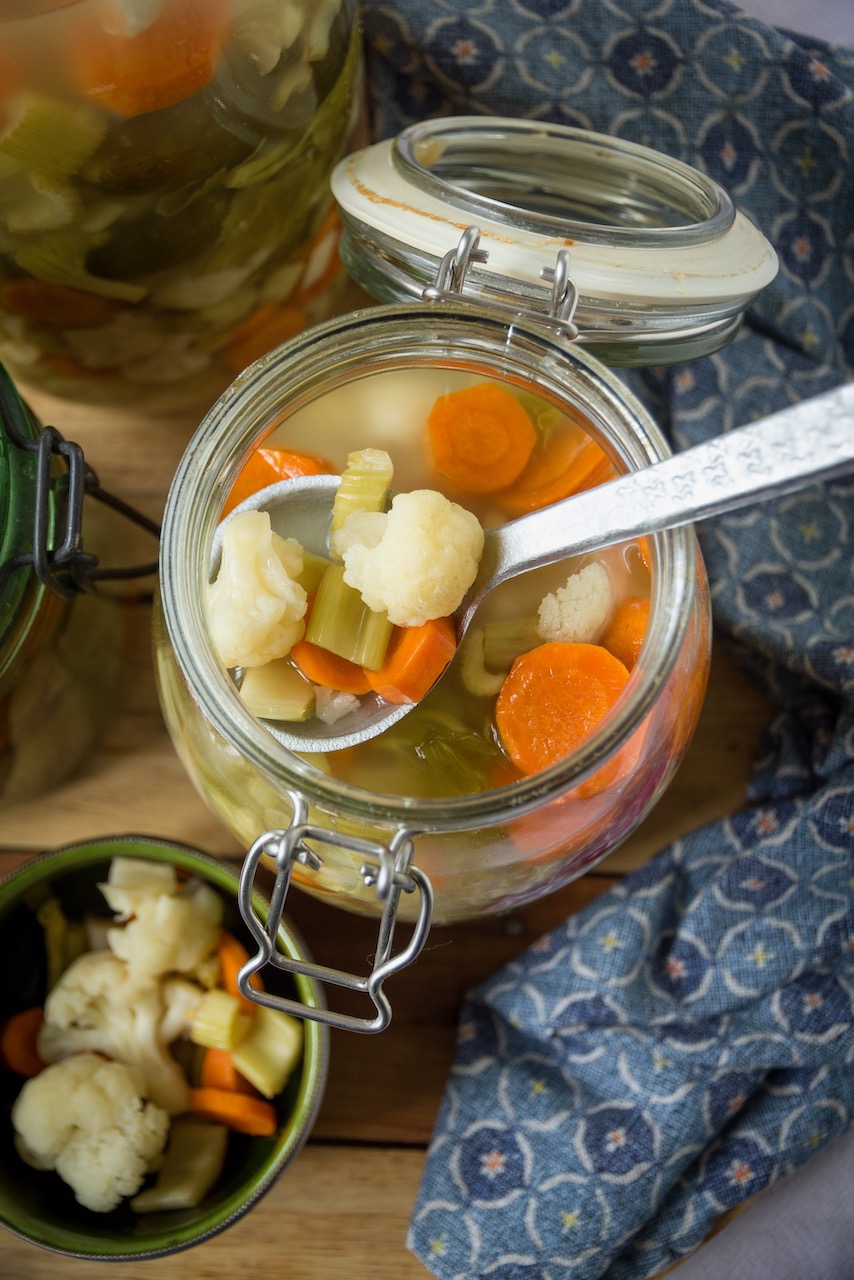
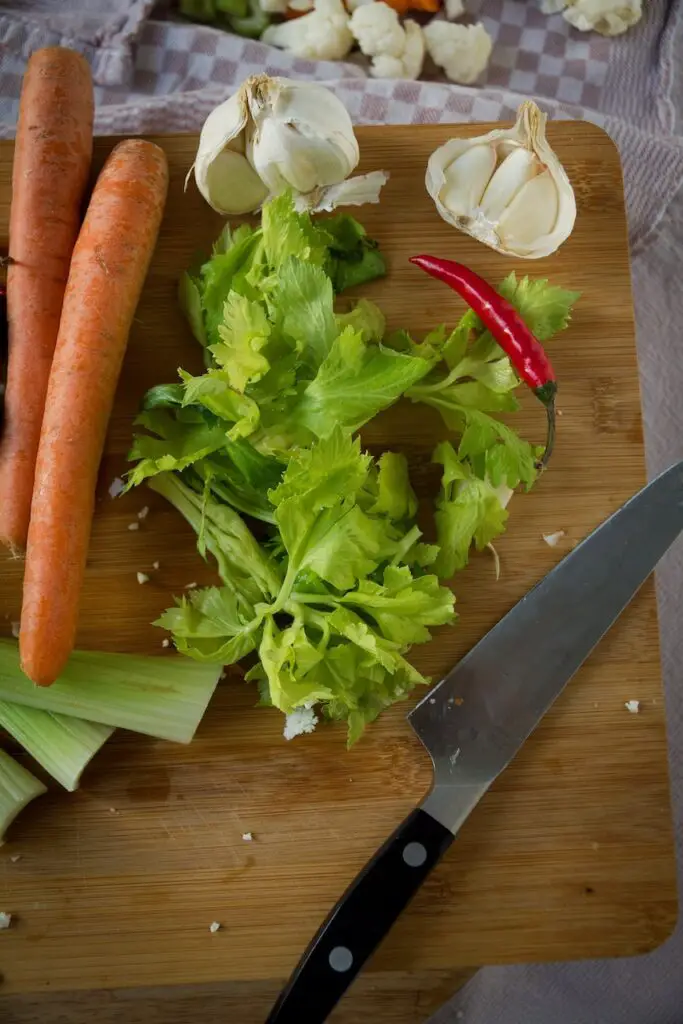
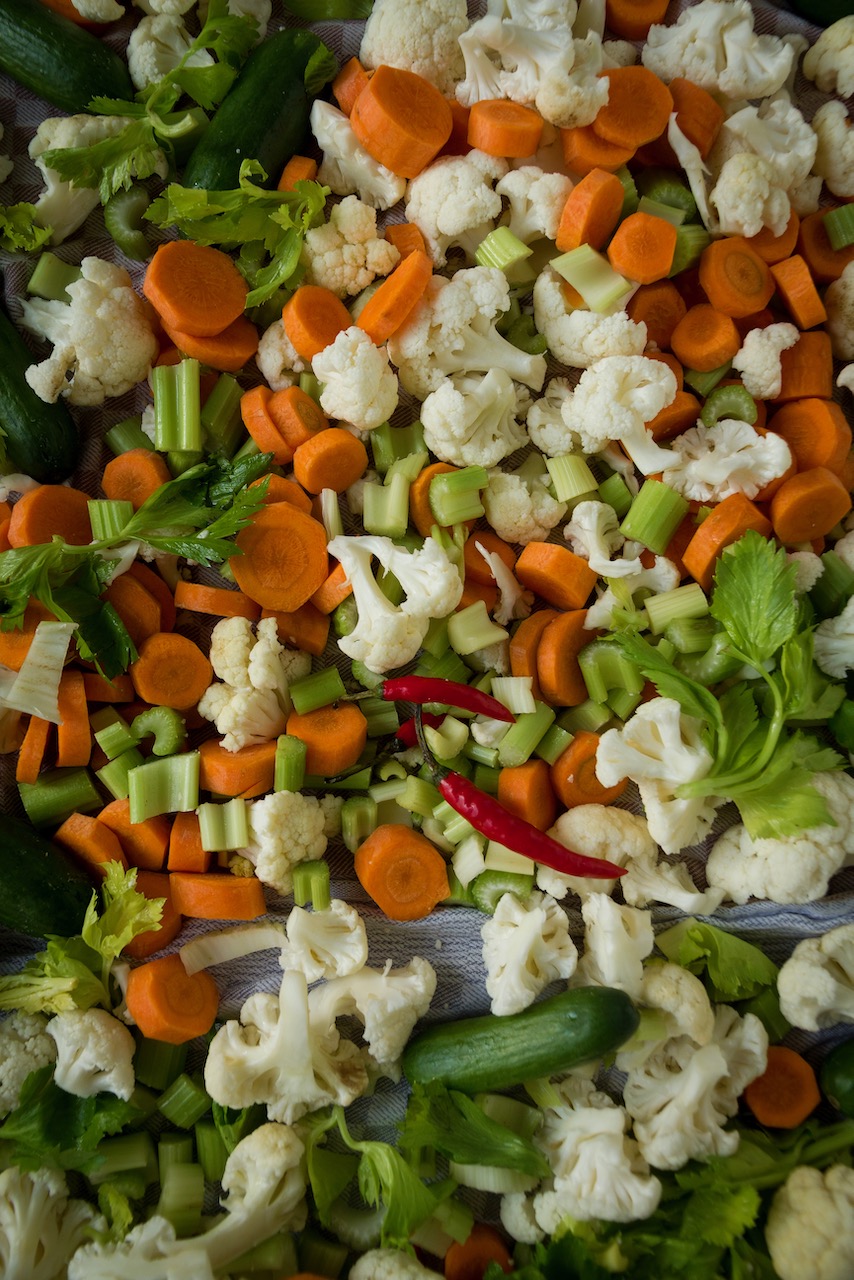
At the local market, I picked up fresh vegetables in the most beautiful colours. In Iran, late summer and early autumn are the perfect time to start pickling and fermenting vegetables for the colder months ahead. We make all kinds of delicious preserves, from crunchy Shoor-e Makhloot – Persian Mixed Fermented Vegetables to tangy Torshi Liteh – Persian Pickled Vegetables. For me, there is something truly special about preserving the colourful treasures of summer and looking forward to the cosy days ahead.
My family has cherished this tradition for generations. Pickled and fermented vegetables are an essential part of Persian cuisine, and they always remind me of home. I love how the flavours of garlic, fresh chillies and crunchy vegetables blend together during fermentation, creating a wonderfully savoury and tangy taste.
Today, I’m sharing my easy Shoor-e Makhloot recipe with you. This traditional Persian fermented vegetable pickle makes a delicious side dish and brings a little taste of Persian food culture into your home. I hope you enjoy making it as much as I do.
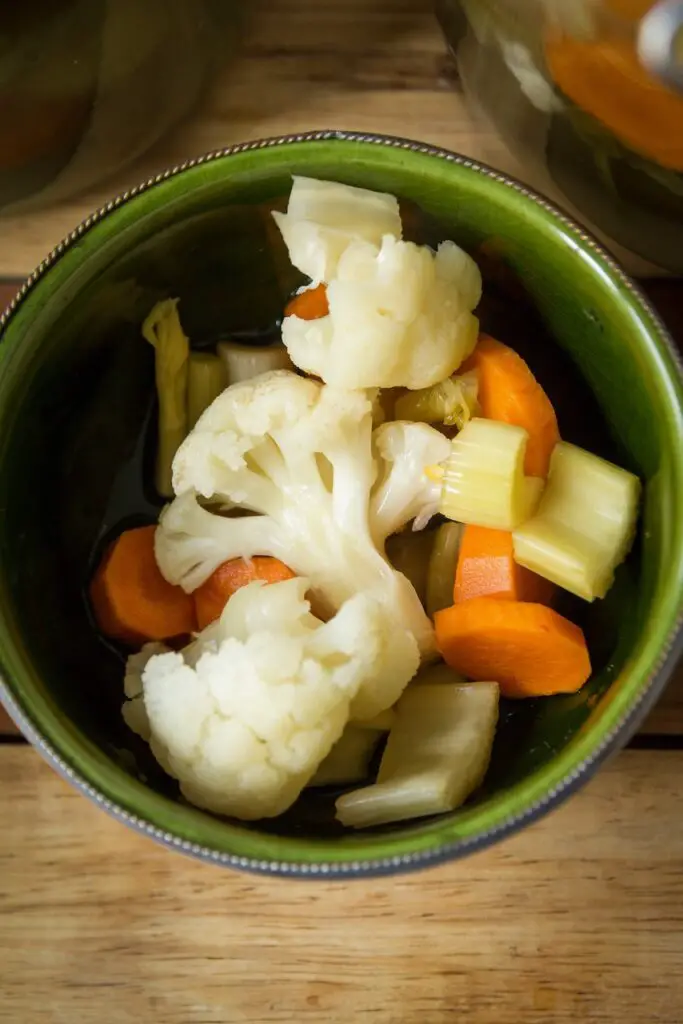
WHAT IS SHOOR AND WHERE DOES IT COME FROM?
Shoor (شور) simply means “salty” in Persian. It refers to a traditional way of preserving vegetables in a flavourful salt brine. Unlike Torshi, which often gets its tangy taste from vinegar, Shoor relies on the natural process of fermentation. This traditional method of preserving vegetables has been part of Iranian cuisine for generations.
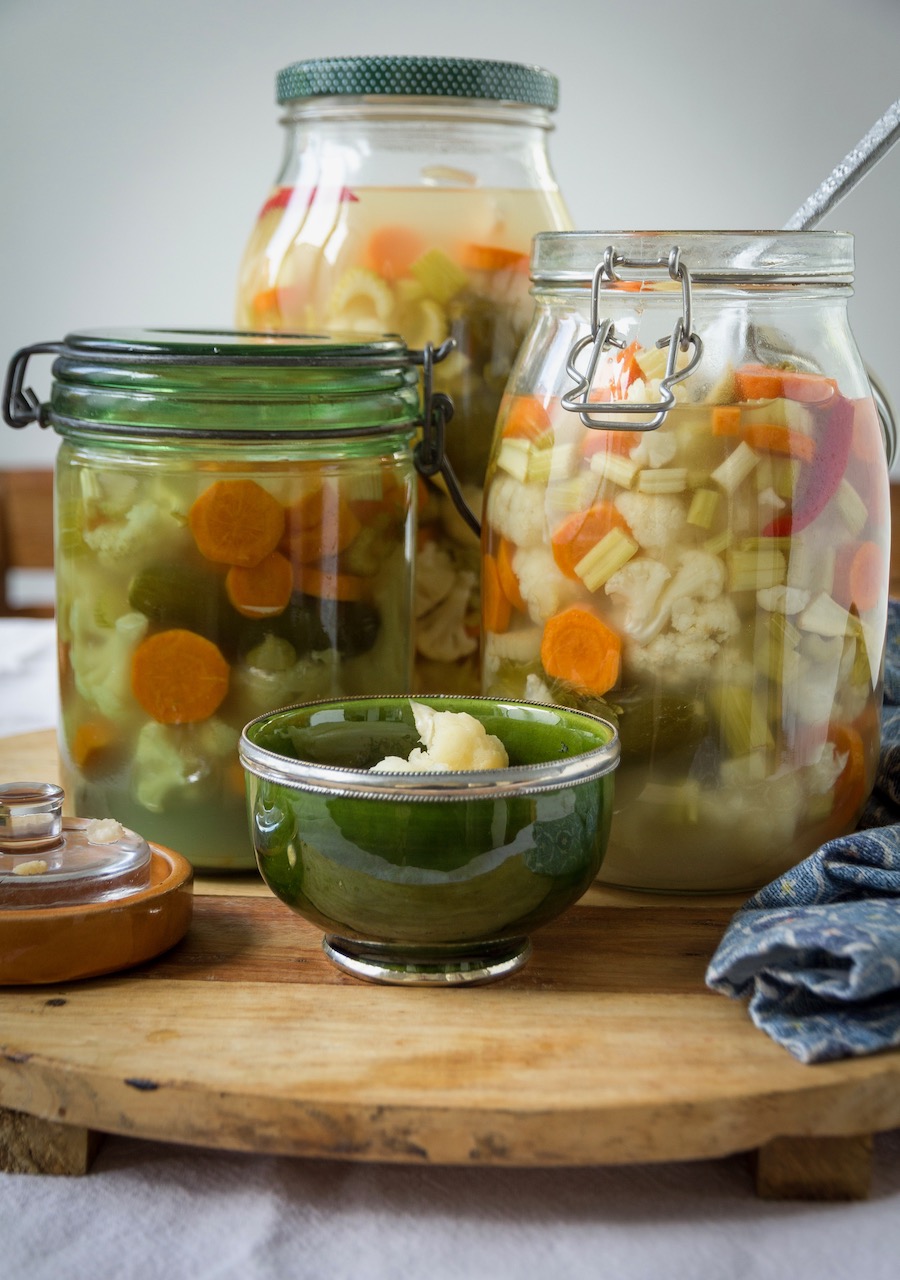
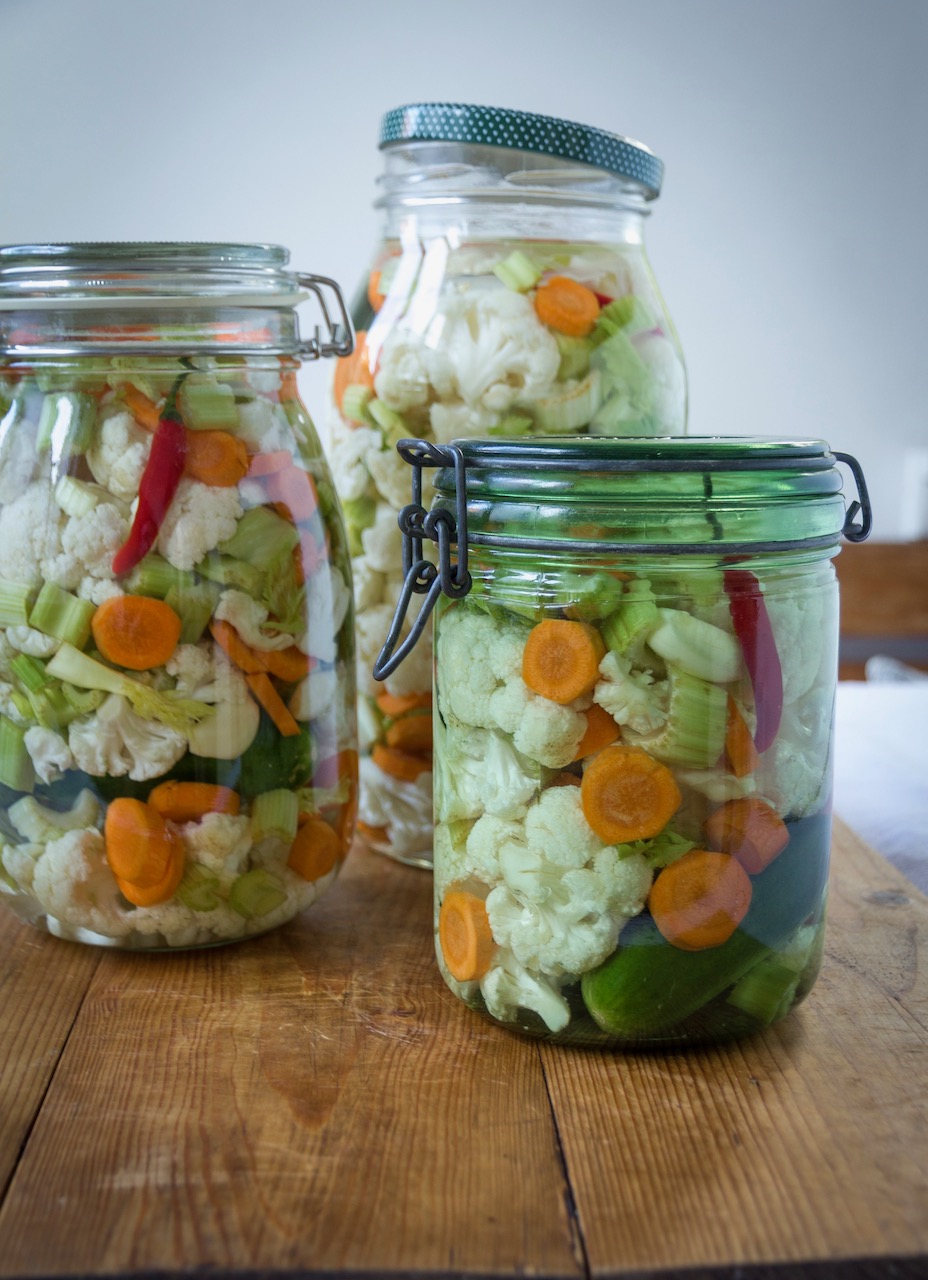
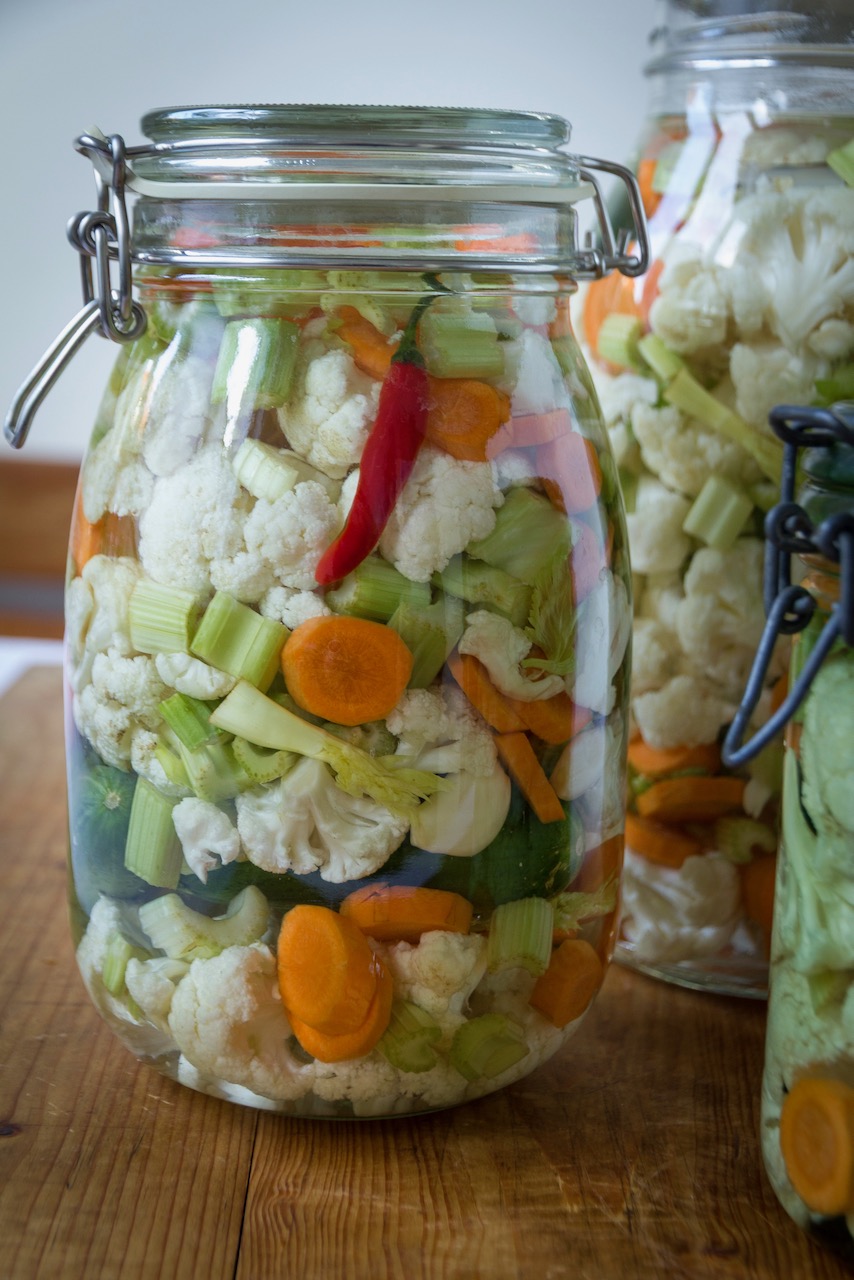
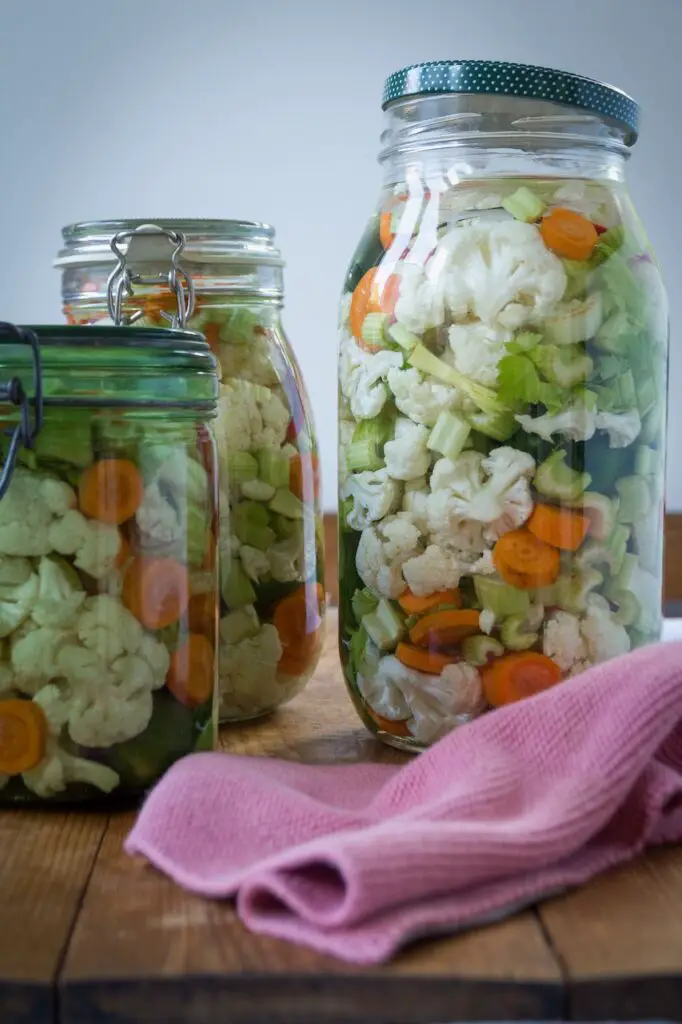
Long before modern refrigerators existed, families used salt brine to preserve their harvest and enjoy vegetables throughout the winter. They typically filled jars with firm, crunchy vegetables such as cauliflower, carrots, celery and cucumbers, along with garlic and fresh chillies.
During fermentation, naturally occurring lactic acid bacteria convert sugars in the vegetables into lactic acid. This gives Shoor its pleasantly tangy flavour while helping to preserve the vegetables. When prepared correctly, the vegetables can retain their lovely crunch and develop a complex, savoury taste.
In Persian cuisine, Shoor is a much-loved side dish. It pairs beautifully with traditional rice dishes, hearty stews and everyday meals. For many Iranian families, a jar of homemade Shoor is more than just a way to preserve vegetables. It is a taste of home and a tradition passed down through generations.
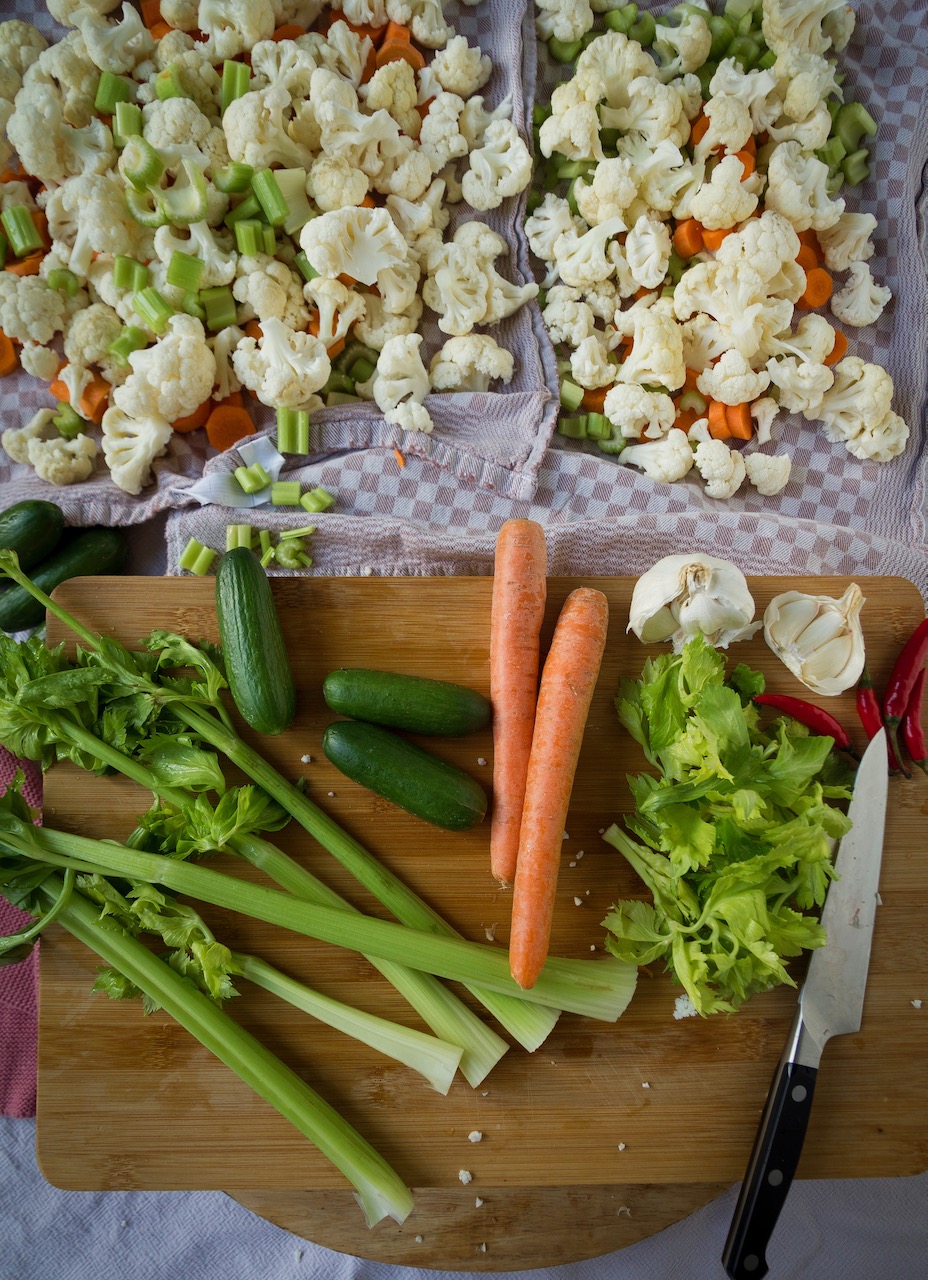
WHICH VEGETABLES ARE BEST FOR FERMENTING?
One of the best things about Shoor is how versatile it is. Besides classic cauliflower and carrots, you can experiment with all kinds of firm, crunchy vegetables. Try adding cucumbers, crisp little radishes, small green tomatoes, shallots, broad beans or tender kohlrabi sticks to your jar. They soak up the flavours of the brine and add a lovely variety of colours, textures and tastes.
Fresh herbs make Shoor even more special. Tarragon and dill add a wonderful aroma and give your homemade fermented vegetables a delicious Persian touch. Feel free to mix and match your favourite vegetables to create your own version of this traditional Iranian pickle!
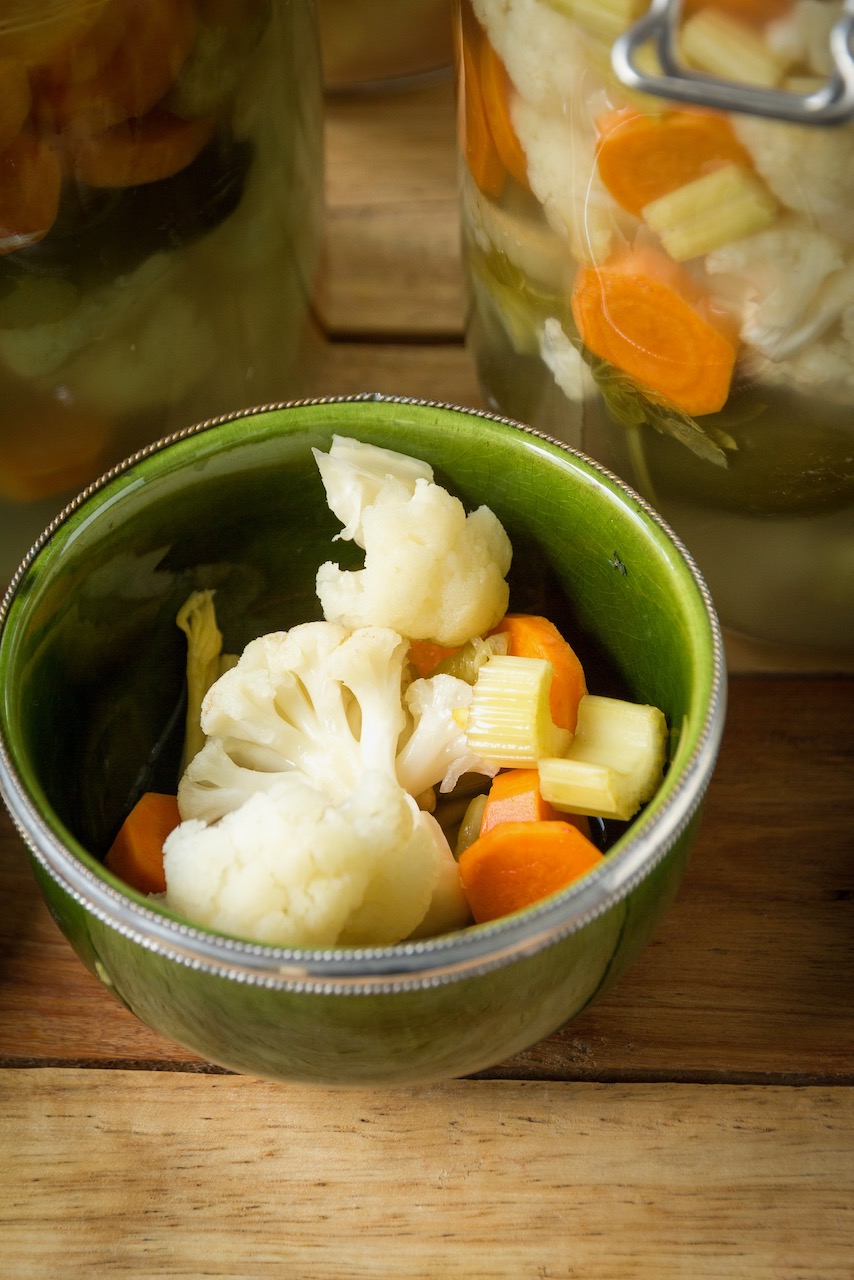
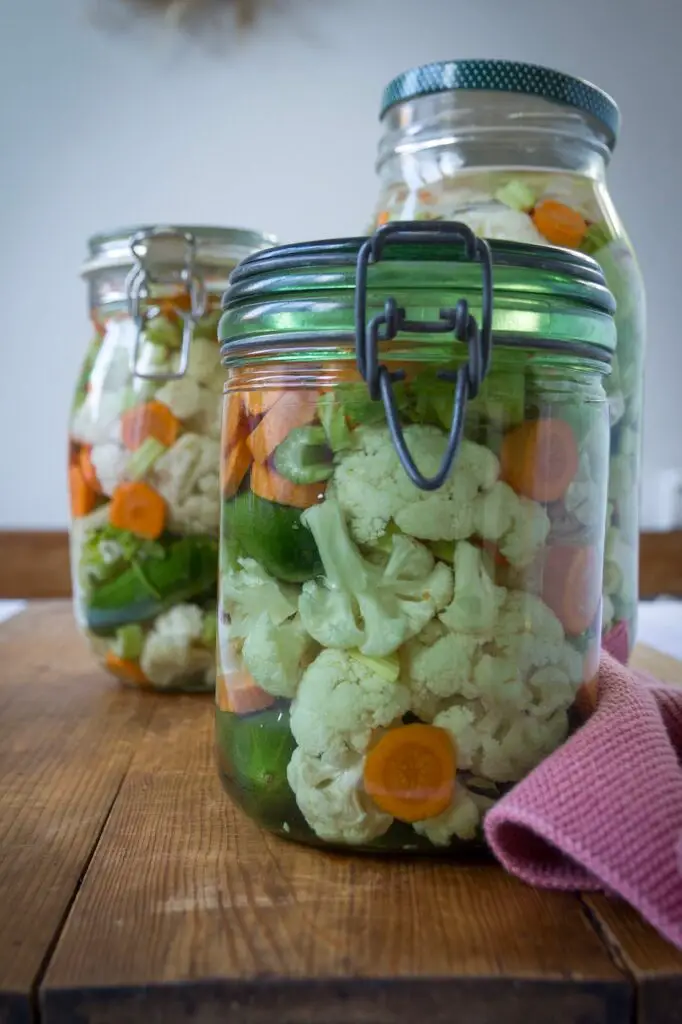
FERMENTING VEGETABLES IN GERMANY VS. IRAN
Fermenting vegetables is a much-loved tradition in both Germany and Iran, but each country has its own way of doing it. In Germany, classic fermented foods such as sauerkraut are often made by finely shredding cabbage and mixing it with salt. The salt draws out the cabbage’s natural juices, creating the brine needed for fermentation. Salted cucumbers are another popular favourite.
In Iran, Shoor is usually made with whole or roughly chopped vegetables submerged in a prepared salt brine. This method allows the vegetables to absorb the flavours while keeping their lovely crunch.
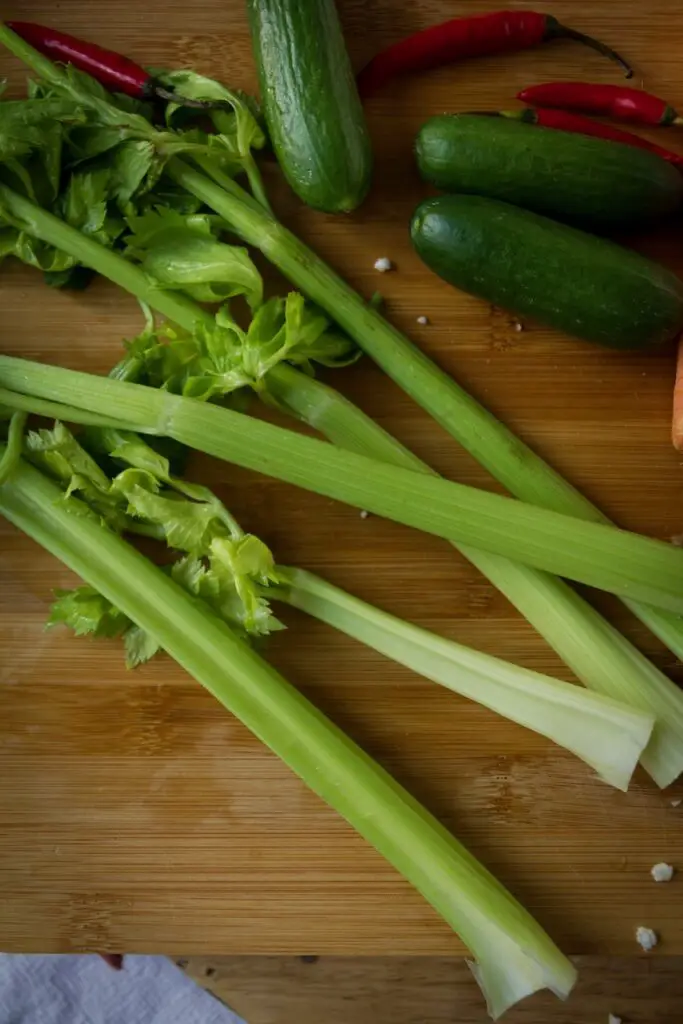
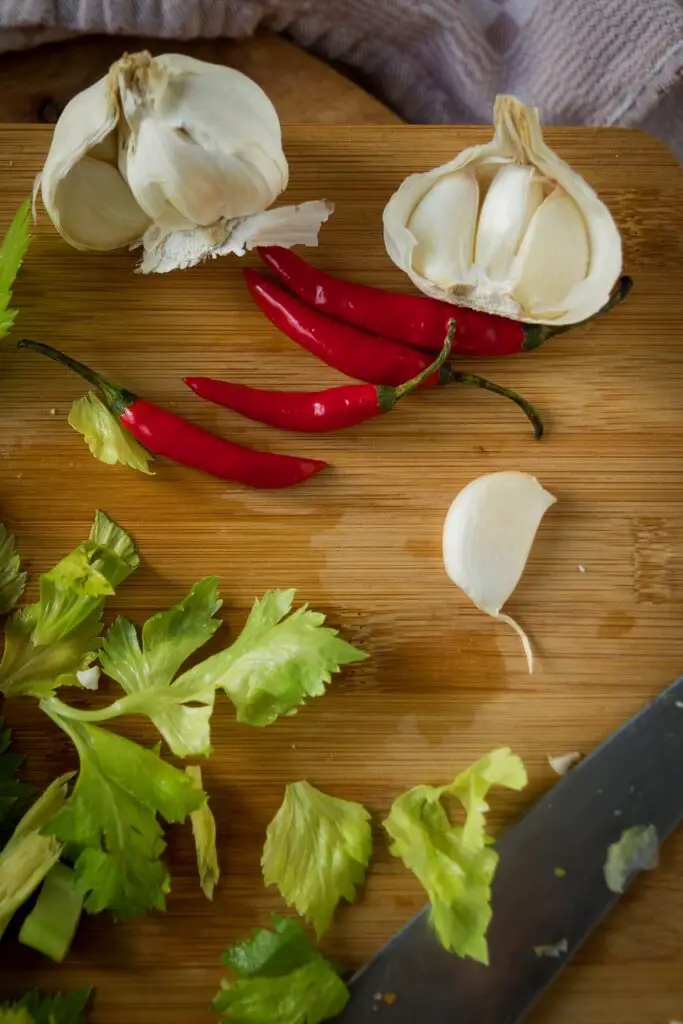
The seasonings also tell two different stories. In Germany, caraway seeds, bay leaves and juniper berries are often used to flavour fermented vegetables. In Persian kitchens, garlic, fresh chillies and celery leaves are popular additions. Sometimes, a little mint or turmeric adds an extra layer of flavour.
Although the ingredients and methods differ, both traditions rely on the natural process of lactic acid fermentation to preserve vegetables. I love how these simple techniques create such different flavours and textures, each reflecting the food culture and traditions of its home country.
TIPS FOR PERFECT PERSIAN FERMENTED VEGETABLES
To make sure your homemade Shoor turns out delicious, stays crunchy and ferments properly, there are a few simple rules to follow. The right salt concentration, clean equipment and a little patience will help create the right conditions for natural lactic acid fermentation.
- Use fresh vegetables: Choose fresh, firm vegetables without bruises, soft spots or signs of spoilage. Wash them thoroughly before preparing them.
- Dry the vegetables well: After washing, pat the vegetables dry with a clean kitchen towel. You can let them air-dry for a few hours in a clean place. However, drying them overnight does not prevent mould on its own.
- Sterilise your jars: Make sure your jars and utensils are thoroughly cleaned and suitable for fermentation. For a practical tip on preparing preserving jars in the oven, check out my recipe for Kiyar Shoor – Persian Pickled Cucumbers. Remember that clean jars are essential, but home sterilisation alone does not guarantee a safe ferment.
- Get the salt concentration right: Salt helps create the right environment for lactic acid bacteria and discourages unwanted microorganisms. The amount you need depends on the recipe and fermentation method. For this Shoor recipe, use 40 g of salt per litre of water, as specified in the ingredients. Avoid changing the salt concentration based on the weather alone.
- Keep your vegetables crunchy: Tannin-rich leaves, such as grape leaves, oak leaves or cherry leaves, are traditionally used in some ferments to help maintain a firmer texture. Make sure any leaves you use are clean and suitable for food.
- Keep everything under the brine: This is one of the most important rules! All the vegetables must remain fully submerged in the salt brine throughout fermentation. Use a suitable fermentation weight to keep them below the surface and reduce exposure to oxygen.
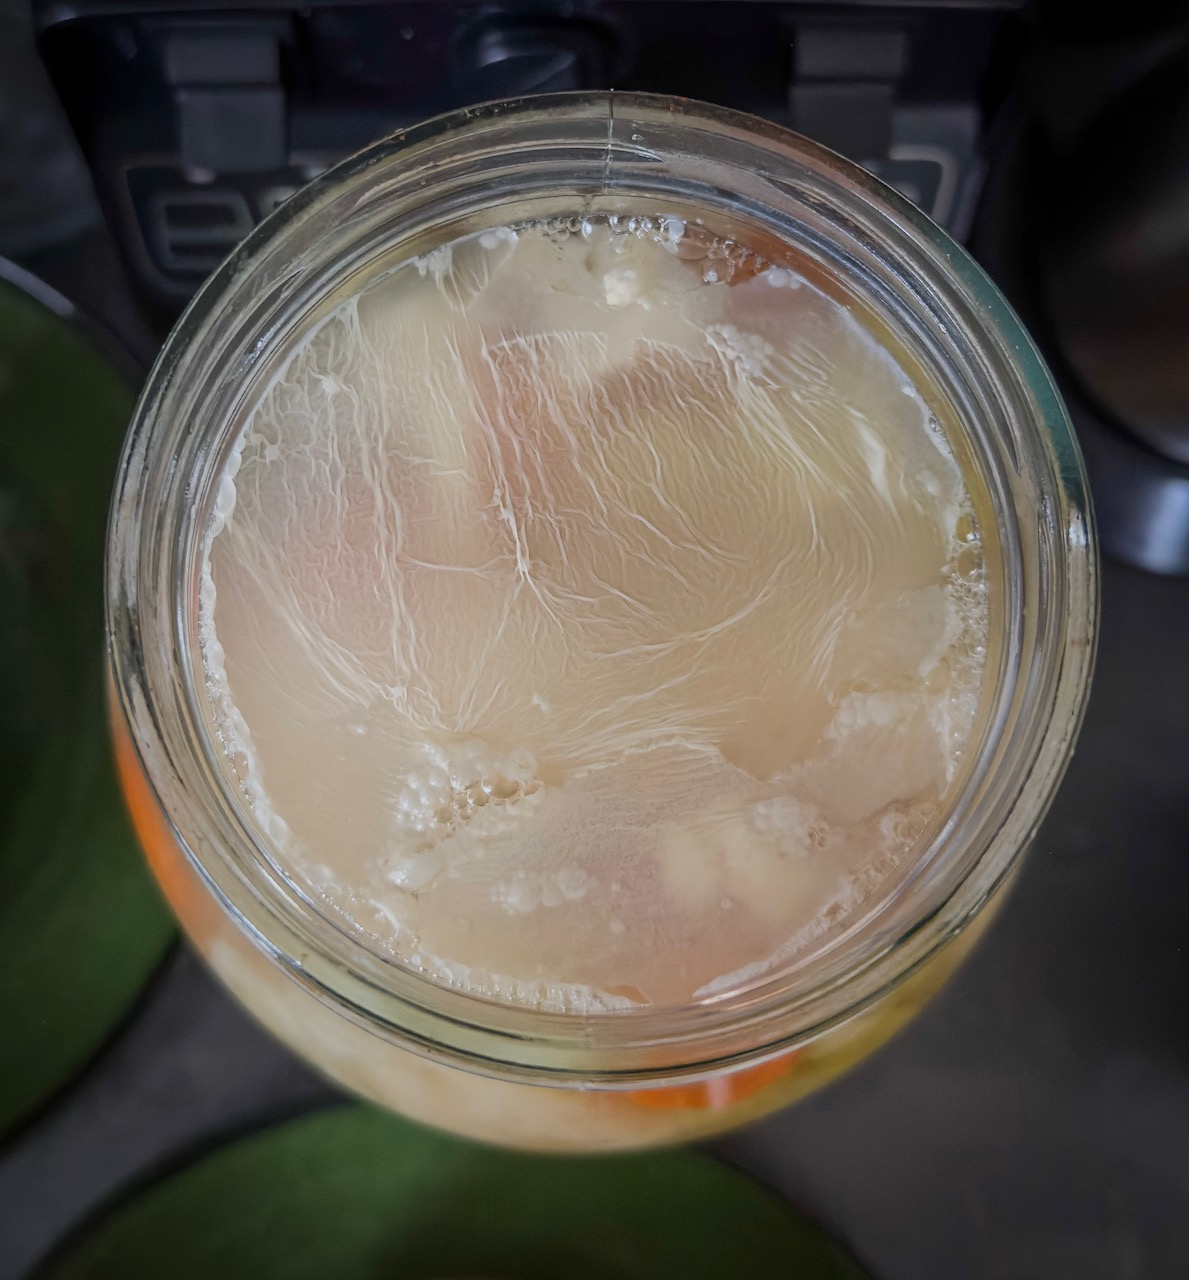
- Know the difference between kahm yeast and mould: A thin, flat, white film may be kahm yeast, which can affect the flavour and aroma of your ferment. However, appearance alone cannot reliably distinguish kahm yeast from mould. If you notice fuzzy growth, unusual discolouration or signs of spoilage, or you are unsure what you are seeing, discard the entire ferment. Do not taste it to check whether it is safe.
- Allow gases to escape: Fermentation produces carbon dioxide. Use a suitable fermentation lid or airlock that allows gas to escape safely, rather than tightly sealing a jar that is not designed to handle pressure.
With these tips, you will be well on your way to making delicious, crunchy Shoor-e Makhloot at home. Enjoy this traditional taste of Iran with your favourite Persian rice dishes and stews!
WHAT IS KAHM YEAST, AND IS IT DANGEROUS?
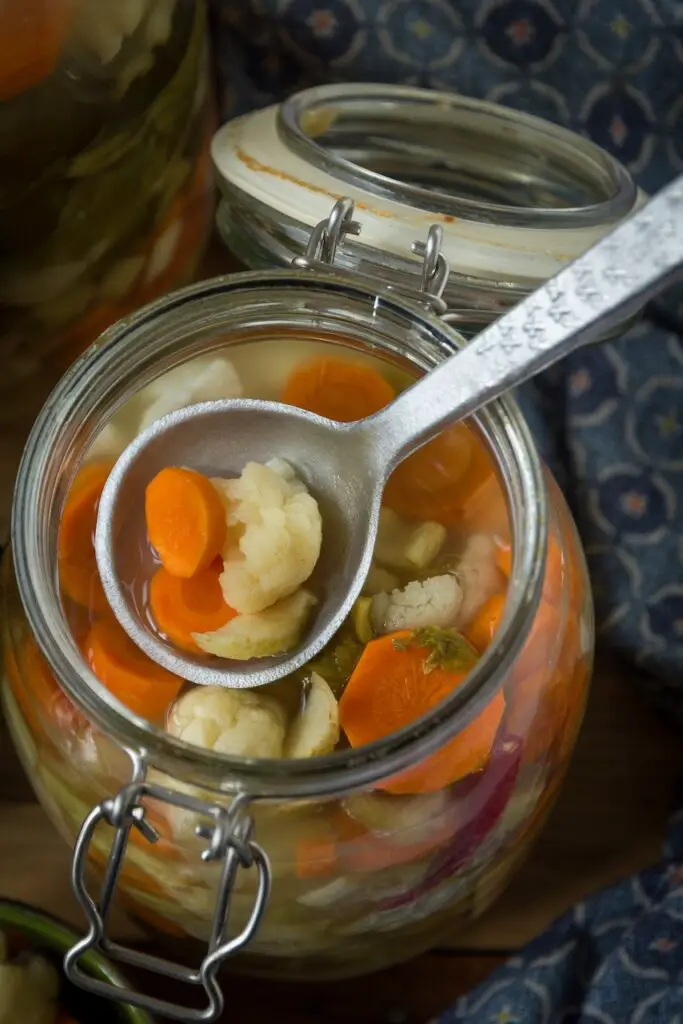
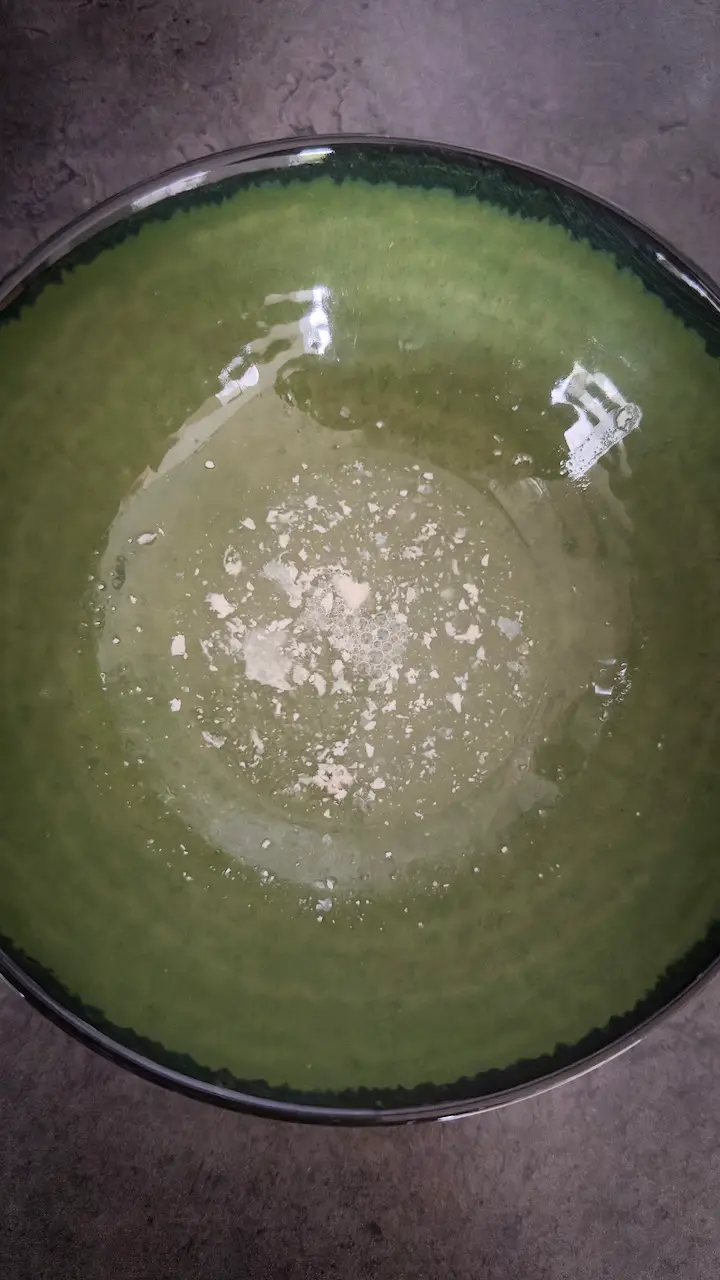
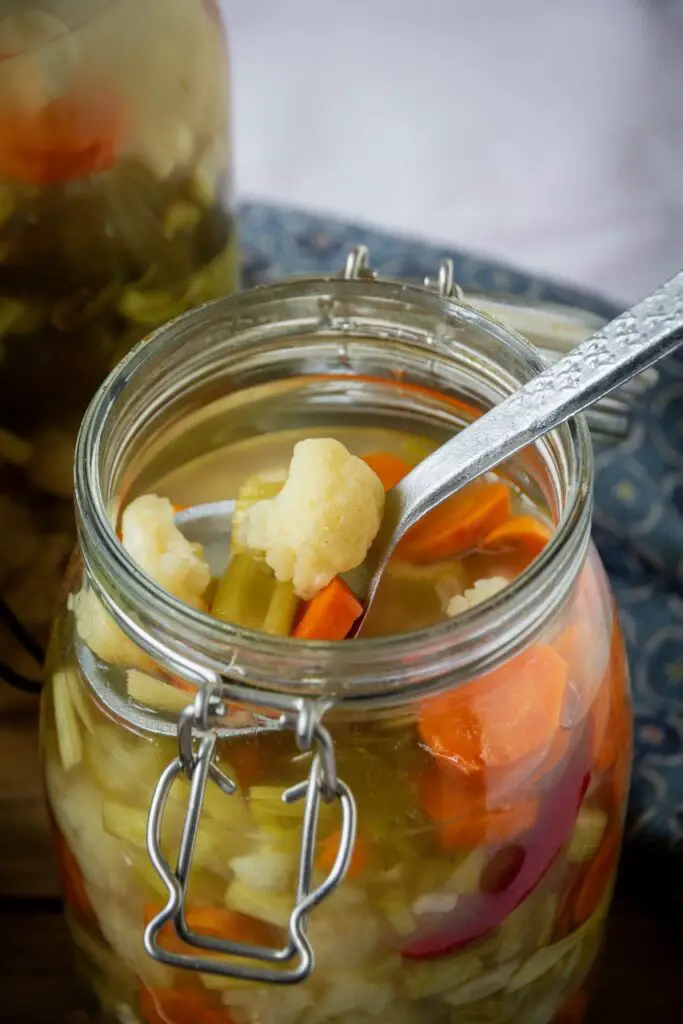
Kahm yeast is a thin layer of yeast that can form on the surface of the brine during fermentation. As you can see in my photos, it is usually white to cream-coloured, flat and sometimes slightly wrinkled or powdery. It often develops when oxygen reaches the surface of your ferment.
Kahm yeast can affect the flavour of your fermented vegetables. The longer it grows on the surface, the more likely it is to develop unpleasant, yeasty, slightly musty or dull flavours. That is why it is best to address it as soon as you notice it.
How can you tell the difference between kahm yeast and mould?
Kahm yeast can often be lifted off with a clean spoon and may break apart into small, fine particles, as shown in my photos. Mould, on the other hand, often develops raised, fuzzy or fluffy patches. However, these signs are not reliable enough to distinguish the two with certainty, as some mould can also appear flat and white.
If you are confident that the film is kahm yeast, you can carefully skim it off with a clean spoon and make sure the vegetables remain fully submerged in the brine. If the growth looks fuzzy or furry, you notice unusual discolouration, or you are unsure whether it is kahm yeast or mould, discard the entire ferment to be on the safe side. Do not taste it to check whether it is safe.
MORE RECIPES FOR FERMENTED AND PICKLED VEGETABLES
If you love fermented and pickled vegetables, you’ll find plenty more delicious recipes on my blog, inspired by Persian cuisine and beyond. From crunchy Persian pickled cucumbers and tangy radishes to aromatic Torshi and homemade kombucha, there’s something for every taste. Have a look around and discover your new favourite recipes!
- Khiyar Shoor – Persian Pickled Cucumbers
- Sir Torshi – Persian Pickled Garlic
- Torshi Liteh – Persian Pickled Vegetable Relish (ترشی لیته)
- Torshi Torobche – Quick-Pickled Radishes (ترشی تربچه)
- Piaz Torshi – Persian-Style Pickled Red Onions
- Piccalilli Sauce – British Pickled Mustard Vegetables
- Rhubarb and Date Chutney
INGREDIENTS FOR SHOOR-E MAKHLOOT
1 cauliflower, cut into florets
6 carrots, sliced
1 bunch of celery, including the leaves, sliced
6 cucumbers
3 garlic cloves
1 red chilli
3 litres of water
HOW TO MAKE SHOOR-E MAKHLOOT – STEP BY STEP
STEP 1: PREPARE THE VEGETABLES
Wash the cauliflower, carrots, celery and cucumbers thoroughly. Cut the vegetables into bite-sized pieces and peel the garlic. Spread everything on a clean kitchen towel and pat dry. You can leave the vegetables to air-dry for a few hours in a clean place. Avoid leaving them unrefrigerated overnight.
STEP 2: MAKE THE SALT BRINE
Add 20 g of non-iodised rock salt per litre of water to a saucepan. I used 3 litres of water, so I added 60 g of rock salt. Bring the brine to a boil, stirring until the salt has completely dissolved. Allow it to cool completely before pouring it over the vegetables.
STEP 3: PREPARE THE JARS
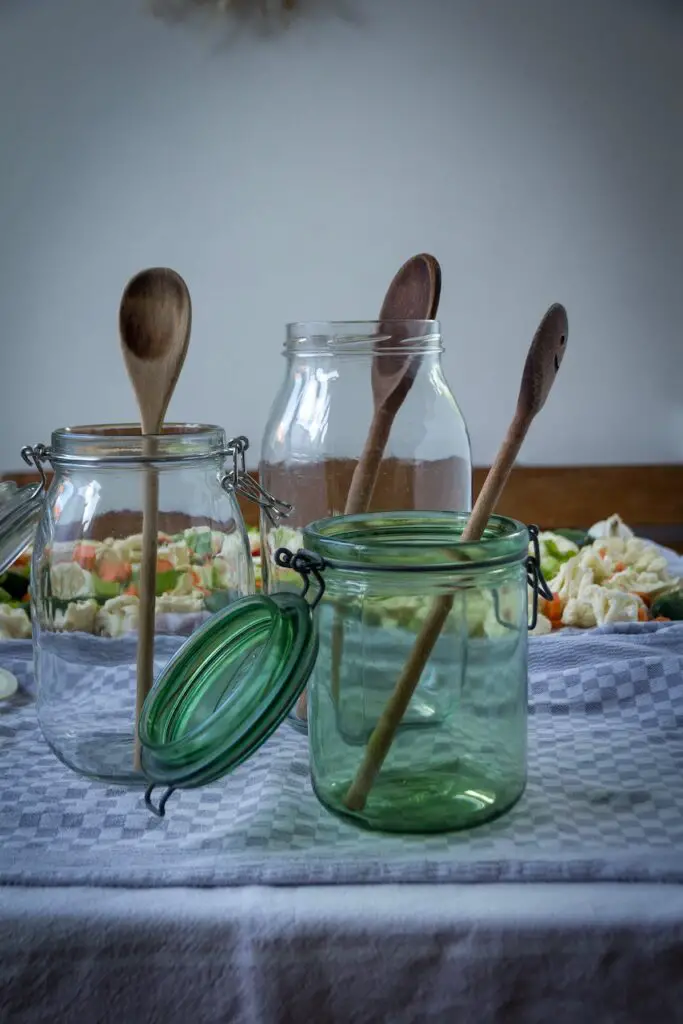
I recommend using clean, dry rubber-seal preserving jars* or traditional Weck jars*. Clean the jars, lids and all utensils thoroughly before use. Since fermentation produces gas, use a suitable fermentation lid or airlock that allows the gas to escape safely. Do not tightly seal ordinary jars without pressure release.
STEP 4: LAYER THE VEGETABLES IN THE JARS
Arrange the prepared vegetables evenly in the jars, adding the garlic and chilli. Pack everything snugly without crushing the vegetables, and leave some space at the top for the brine and any bubbles that form during fermentation.
STEP 5: COVER WITH THE SALT BRINE
Pour the cooled salt brine over the vegetables until they are completely submerged. Place a suitable fermentation weight* on top to keep all the vegetables below the surface of the brine. This helps limit exposure to oxygen and reduces the risk of unwanted growth.
STEP 6: LET THE SHOOR FERMENT
Close the jars using a suitable fermentation lid and place them in a cool, dark spot at a stable room temperature. Check regularly that the vegetables remain fully submerged. Fermentation time depends on the temperature, the size of the vegetable pieces and how tangy you like your Shoor.
STEP 7: ENJOY YOUR HOMEMADE SHOOR
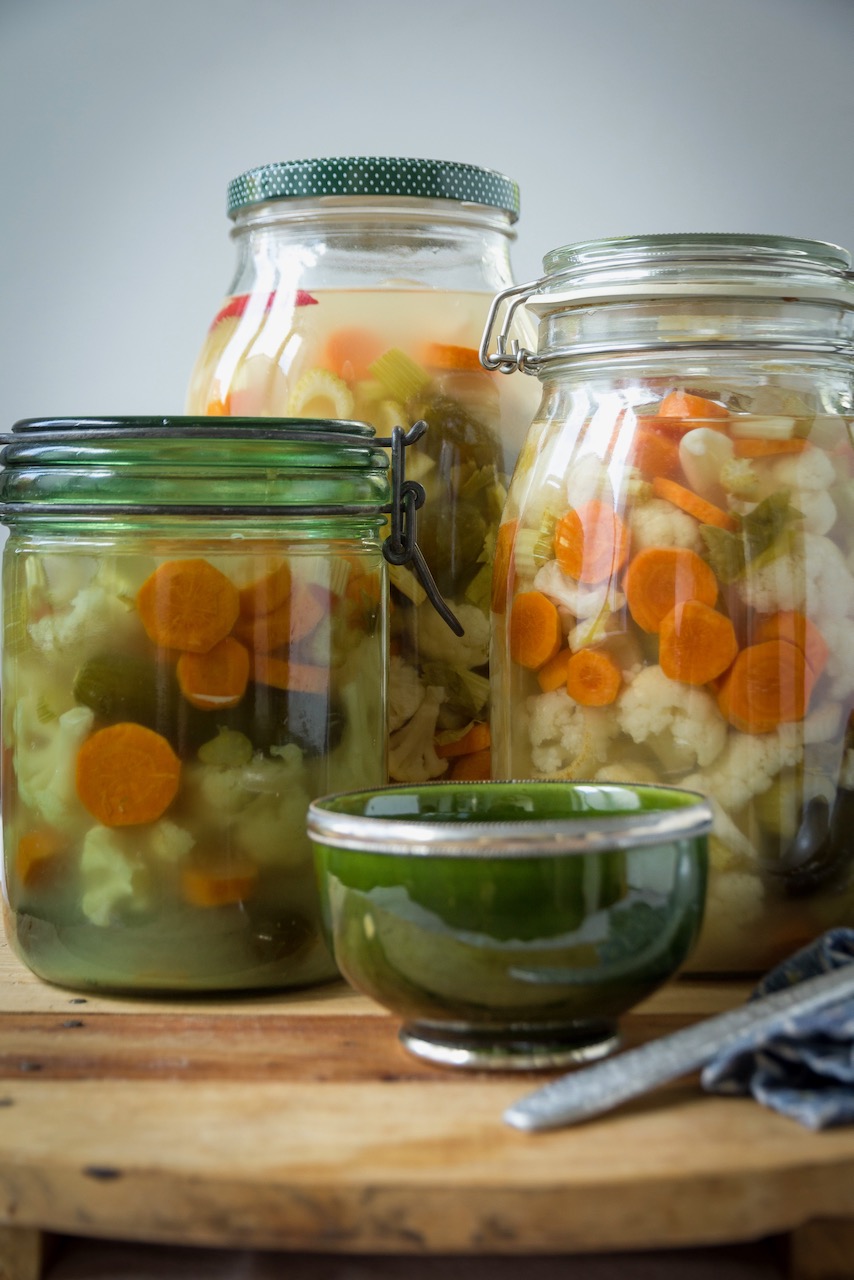
After around 7–10 days, check whether your Shoor has developed the desired tangy flavour. The timing alone does not guarantee that fermentation is complete or that the vegetables are safe to eat. Once fermentation is complete according to a reliable recipe, transfer the jars to the refrigerator to slow down the fermentation process.
Serve your crunchy Shoor-e Makhloot alongside Persian rice dishes, stews or your favourite meals.
Enjoy, or as we say in Persian: Noosh-e Jan!
The items marked with * are affiliate links, referral links. If you buy through this link, I get a small commission. The price stays the same for you and you can easily support my efforts. A big thank you ♥
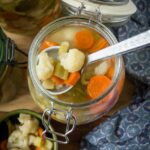
Shoor-e Makhloot – Persian Mixed Fermented Vegetables
Ingredients
- INGREDIENTS FOR SHOOR-E MAKHLOOT
- 1 cauliflower cut into florets
- 6 carrots sliced
- 1 bunch of celery including the leaves, sliced
- 6 cucumbers
- 3 garlic cloves
- 1 red chilli
- 3 litres of water
- 60 g rock salt non-iodised*
Instructions
-
HOW TO MAKE SHOOR-E MAKHLOOT – STEP BY STEP
-
STEP 1: PREPARE THE VEGETABLES
-
Wash the cauliflower, carrots, celery and cucumbers thoroughly. Cut the vegetables into bite-sized pieces and peel the garlic. Spread everything on a clean kitchen towel and pat dry. You can leave the vegetables to air-dry for a few hours in a clean place. Avoid leaving them unrefrigerated overnight.
-
STEP 2: MAKE THE SALT BRINE
-
Add 20 g of non-iodised rock salt per litre of water to a saucepan. I used 3 litres of water, so I added 60 g of rock salt. Bring the brine to a boil, stirring until the salt has completely dissolved. Allow it to cool completely before pouring it over the vegetables.
-
STEP 3: PREPARE THE JARS
-
I recommend using clean, dry rubber-seal preserving jars* or traditional Weck jars*. Clean the jars, lids and all utensils thoroughly before use. Since fermentation produces gas, use a suitable fermentation lid or airlock that allows the gas to escape safely. Do not tightly seal ordinary jars without pressure release.
-
STEP 4: LAYER THE VEGETABLES IN THE JARS
-
Arrange the prepared vegetables evenly in the jars, adding the garlic and chilli. Pack everything snugly without crushing the vegetables, and leave some space at the top for the brine and any bubbles that form during fermentation.
-
STEP 5: COVER WITH THE SALT BRINE
-
Pour the cooled salt brine over the vegetables until they are completely submerged. Place a suitable fermentation weight* on top to keep all the vegetables below the surface of the brine. This helps limit exposure to oxygen and reduces the risk of unwanted growth.
-
STEP 6: LET THE SHOOR FERMENT
-
Close the jars using a suitable fermentation lid and place them in a cool, dark spot at a stable room temperature. Check regularly that the vegetables remain fully submerged. Fermentation time depends on the temperature, the size of the vegetable pieces and how tangy you like your Shoor.
-
STEP 7: ENJOY YOUR HOMEMADE SHOOR
-
After around 7–10 days, check whether your Shoor has developed the desired tangy flavour. The timing alone does not guarantee that fermentation is complete or that the vegetables are safe to eat. Once fermentation is complete according to a reliable recipe, transfer the jars to the refrigerator to slow down the fermentation process.
-
Serve your crunchy Shoor-e Makhloot alongside Persian rice dishes, stews or your favourite meals.
-
Enjoy, or as we say in Persian: Noosh-e Jan! ♡
Have you cooked this or maybe another delicious recipe of mine? Feel free to leave me a comment below. If you tag your picture on Instagram with @labsalliebe and use the hashtag#labsalliebe, I won’t miss a post and will be happy to leave you a comment as well. Can’t wait to see your creations.
♥♥♥♥♥♥♥♥♥♥♥♥♥♥♥♥♥♥♥♥♥♥♥♥♥♥♥♥♥♥♥♥